
How to Generate Video with Manus AI: Complete Tutorial for Beginners
5 min read
Related Articles
How to Make Images and Videos in Claude with Higgsfield AI MCP
How to Generate and Edit Image with Manus AI

How to Create AI Video with Minimax: A Complete Beginner's Guide
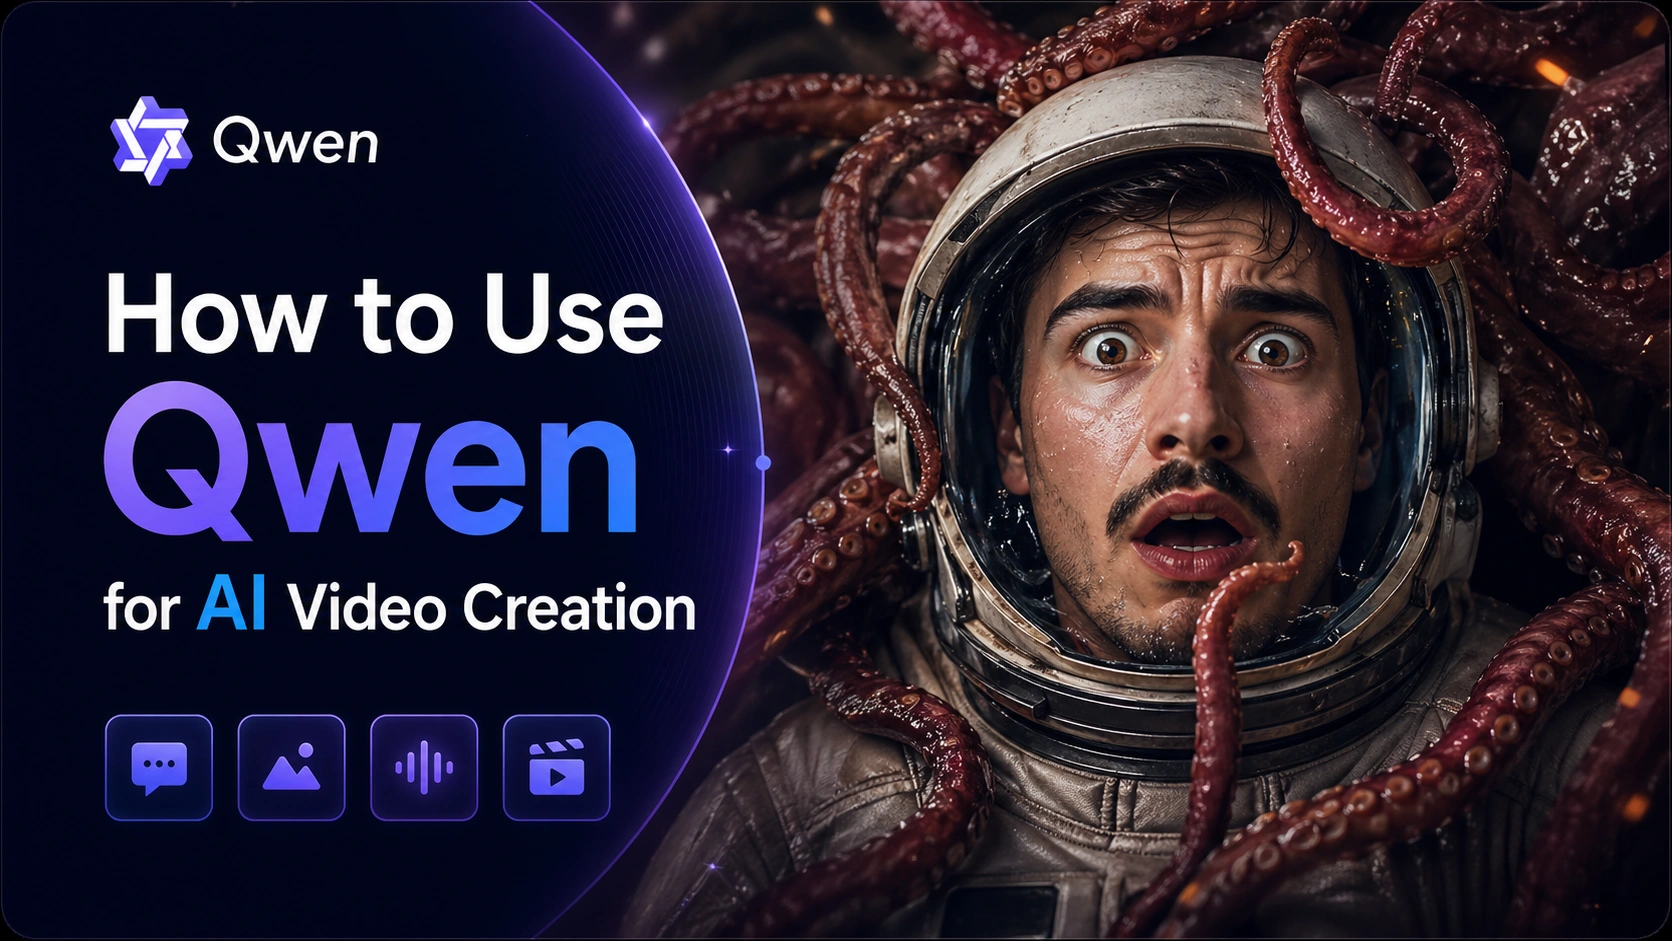
How to Use Qwen AI for Video Creation in 2026